- Paint Protection Film 60° Cutter Blade
- Workhorse 2 Blade Holder
- Workhorse Blade Holder
- Window Tint 25° Cutter Blade
- Transfer Paper
- Graphtec Blade Holders
- Cutting Strip (Workhorse)
- Covertape (Workhorse)
- Graphtec Cut Strip
- Jaguar Cutting Strips
- Jaguar V 25° Blades
- Vinyl 45° Cutter Blade
- Cutting Strip (Workhorse)
Cutting Window Tint Patterns with a Workhorse Plotter
On June 3, 2021
Comments Off on Cutting Window Tint Patterns with a Workhorse Plotter
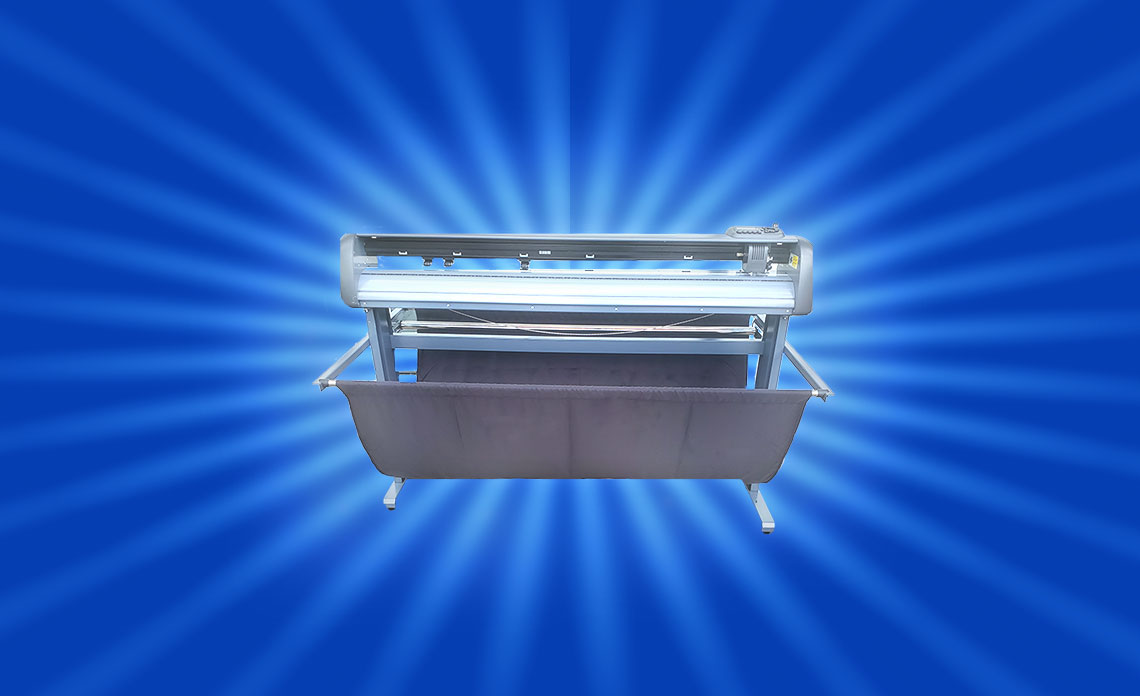
More and more professional tinters are turning towards plotters. These advanced devices allow you to create accurate patterns faster, more efficiently, and more conveniently. This can save you tons of time, improving your bottom line and making your business more profitable. But with all that said, making the jump from hand-cutting to using a plotter isn’t always easy. There are a few things you need to keep in mind when cutting patterns, especially if you’re working with an advanced piece of hardware like the Workhorse.
The easiest way to show you how to approach this process is to go through it step by step. Follow along and learn how to master each part of this process. By the end, you’ll feel confident in your ability to use the Workhorse plotter and Film Cut Pro, an excellent piece of software that you can use alongside your plotter.
- Cutting Your Patterns
The first thing you need to realize about using a plotter is that there are virtually no limits to what you can achieve. If you can imagine a pattern, you can use the Workhorse to cut it. This means that it’s easier to not only cut window patterns, but also custom lettering, logos, and much more. Combine vinyl graphics to truly personalize your vehicles in a professional, easy way.
Of course, you probably want to start with something a little more straightforward if you’re new to using a plotter. The good news is that the Workhorse is one of the most efficient plotters on the market, and it’s great for beginners and experts who want to really get creative.
Your first step is to gather all of your materials and equipment. You’ll need a Workhorse plotter, a computer that can run Film Cut Pro, and all of the normal film application tools you use for a tinting job. This includes a good roll of film!
With Film Cut Pro, you can manipulate images easily, create lettering, and much more. Import a wide range of filetypes and choose from an extensive database of PPF and film pattern kits. This functionality allows you to find the best patterns for the specific job you’re working on, whether you’re tinting a golf cart or a pickup truck.
Once you have all of your equipment ready, you’ll need to load your film into the cutter. Lock down the pinch roll wheels and set the blade in the blade holder. Make sure that the extension of your blade matches the thickness of the film you’re working with.
Once you have your roll of film threaded, head to the control panel of the Workhorse and select “roll.” You can also take this opportunity to set your blade force. A common amount of force is 110, although it really depends on the type of film you’ve chosen. You also need to select the cutting speed. We recommend around 30 centimeters per second.
Select your pattern kit from the database and choose the correct pattern kit for the job. Individually select the window you’d like to cut, and send the file to the cutter. The Workhorse will now begin to cut the film, and you’re on your way.
You’ll notice that the blade does not fully penetrate the surface of the film. This is because full penetration might result in the film flopping around with loose sections going all over the place. This may result in tracking issues and jamming, which can create problems for the blade. The last thing you want is to start all over again after wasting a good section of film.
- Weeding the Film
After the Workhorse has finished cutting the film, all you need to do is remove the section and go through the “weeding” process. This is a very simple step that involves removing the excess film from the pattern. Remember, the blade did not fully cut through the film. This means that you may need to cut away the release liner, although this is not completely necessary.
- Apply the Film
Now you’re ready to apply the film to the window. You can do this in the exact same way as you would with any other tinting job. Remember to prep the surface properly and rely on your normal slip solution to get the job done. After you’ve completed this step, take a moment to think about how much time you’ve saved with the plotter. Don’t be surprised if you’re completely amazed at how efficient you’ve just become.
More Advanced Projects
The Workhorse plotter opens up a completely new world of possibilities, and you can start working on some seriously advanced projects once you’ve mastered the basics of using this technology.
One of the most exciting things to do is add text to your pattern, and you can do this in Film Cut Pro. You can also add logos and other graphic files to the pattern. These tasks are relatively simple.
You can also cut multiple layers of film and assign different colors to each element. Once you’re satisfied with your design, you’re ready to send it to the cutter. For complex designs like these, it’s best to load the lightest type of window film you have on hand. This will act as a transfer sheet.
The Workhorse will cut this design as normal, and you can put it to one side. Next, select the roll of film that you want to act as the background of your image. Select the pattern kit and the desired graphic at the same time, and send both of them to the cutter. After the pattern is finished cutting, you’ll weed out the graphic and leave only the background color behind. This will act as your template layer.
Prep the surface for installation and apply your transfer sheet to the glass. Remove the liner and then apply the template layer directly over the transfer sheet. You can continue adding many layers to achieve an incredible finished effect.



 Secabo Heat Presses
 Skintac HX20000
 SKINTAC HX30000
 SKINTAC HX45000
 SMARTAC KG8000


